Biscuits, those delightful pockets of comfort and flavor, have a history as rich as their taste. Originating in ancient civilizations, such as the Egyptians, Greeks, and Romans, these early versions were often unleavened and intended for sustenance during long journeys. However, it was the Middle Ages that saw a transformation in biscuit-making, as bakers started incorporating butter and leavening agents, leading to the creation of a more familiar texture.
As time marched on, biscuits evolved across cultures, taking on diverse forms and ingredients. In the United States, biscuits became an integral part of Southern cuisine, with the buttermilk biscuit taking the spotlight as a beloved classic. Whether enjoyed as a tender sidekick to a hearty meal or as a vessel for sweet indulgence, biscuits have traversed centuries and continents, becoming a cherished culinary tradition that transcends time.
Buttermilk Biscuits
There’s nothing quite like the smell of freshly baked biscuits to make a house feel like a home. In this recipe, we are excited to share our homemade biscuit recipe with you. These biscuits are light, fluffy, and oh-so-tasty, and they’re perfect for breakfast, brunch, or anytime you want a comforting treat. Biscuits are a staple of Southern cooking, but you don’t have to be from the South to appreciate the comfort and deliciousness of these baked goods.
“Home is where the biscuits are.” -Courtney (Author)
Ingredients:
To make these biscuits, you’ll need the following ingredients:
- 2 cups all-purpose flour
- 3 teaspoons baking powder
- 3 teaspoons sugar
- 1/3 teaspoon salt
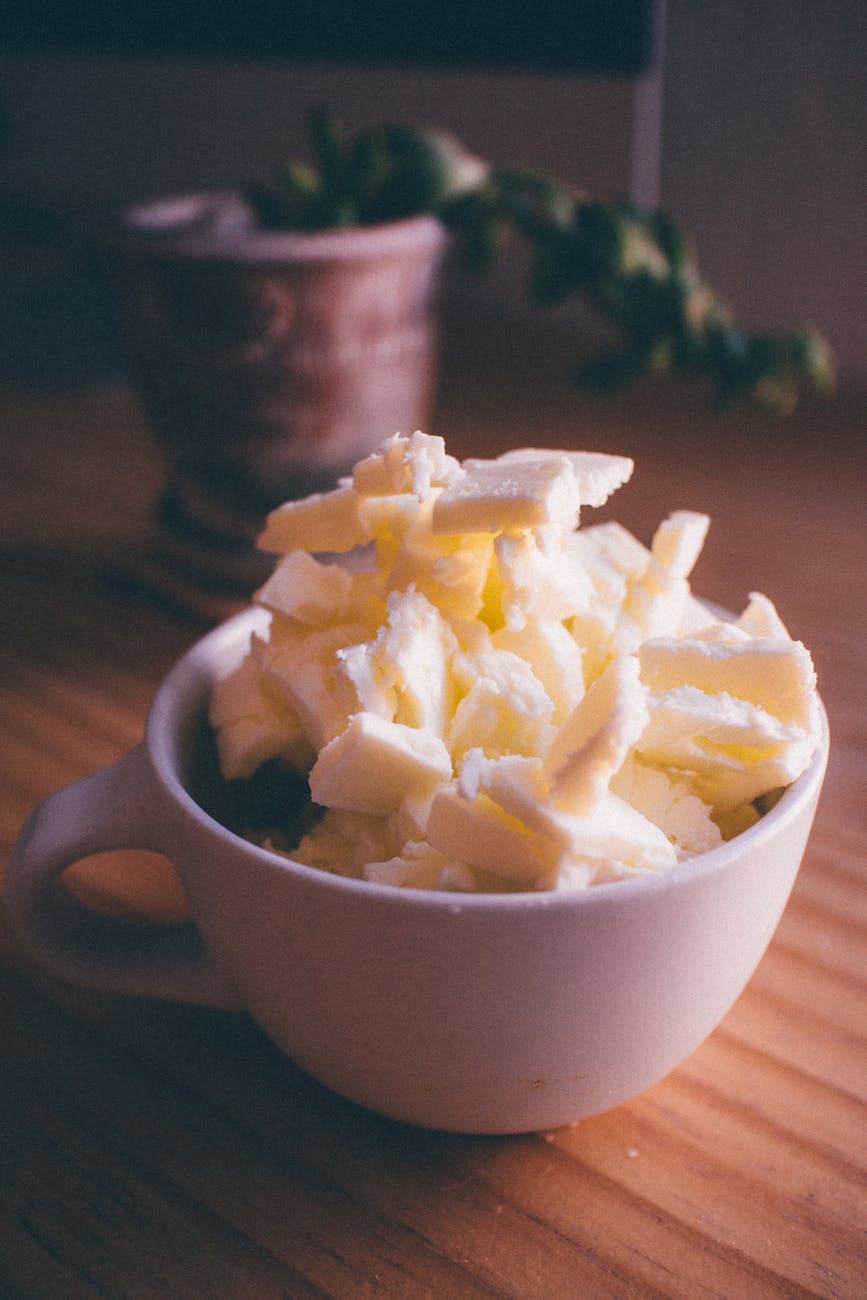
- 8 tablespoons (1 stick) unsalted butter, cold, cut into small pieces.
- 1 cup buttermilk
Directions:
Preheat your oven to 425°F (220°C).
- Whisk together the flour, baking powder, sugar, and salt in a large bowl until well combined.
- Add the butter to the bowl and use a pastry cutter or your fingers to work it into the flour mixture until the mixture resembles coarse crumbs. You want to make sure the butter is evenly distributed throughout the flour mixture.
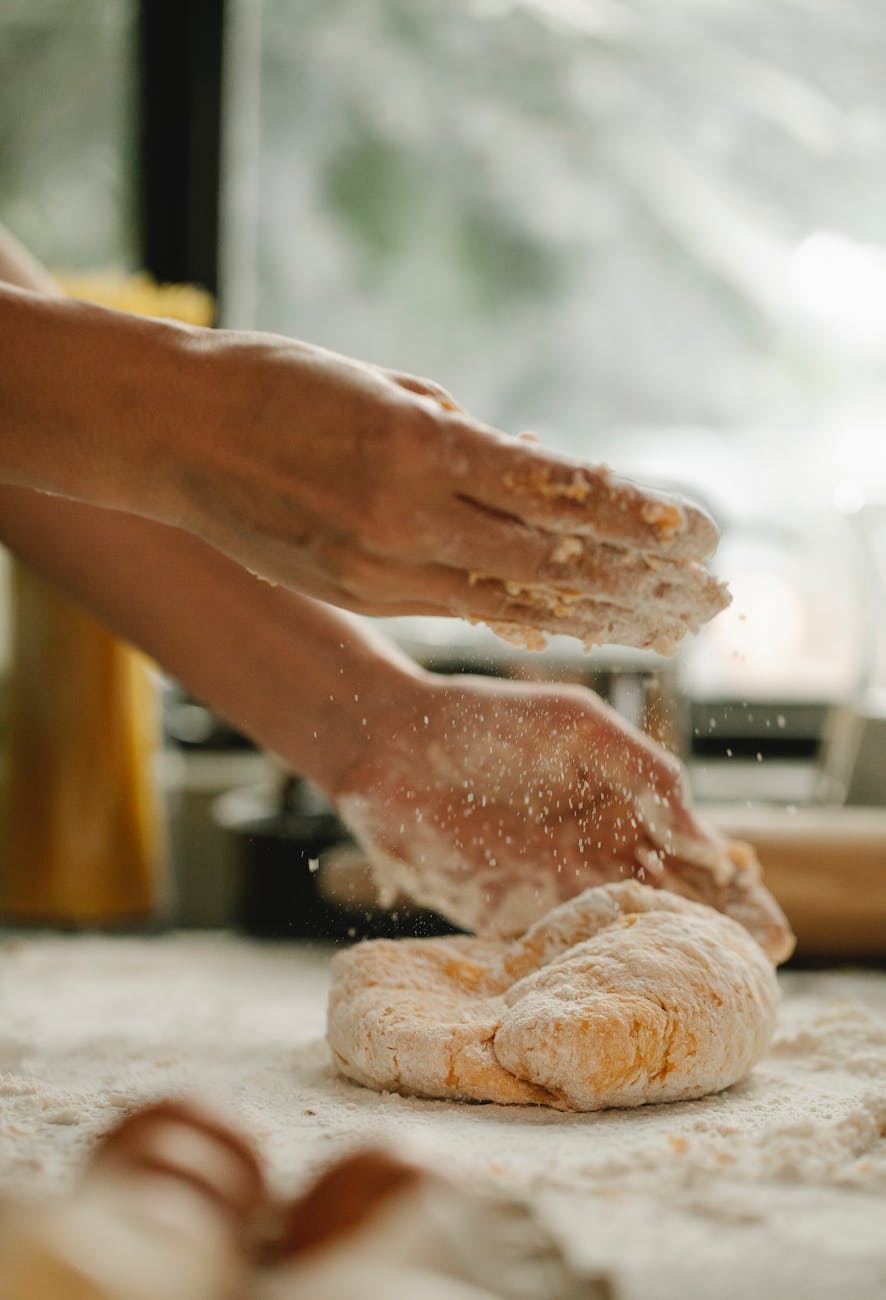
- Make a well in the center of the bowl and pour in the buttermilk. Use a wooden spoon or your hands to gently mix the dough until it comes together in a shaggy mass. Be careful not to overwork the dough, as this can make the biscuits tough.
- Turn the dough out onto a lightly floured surface and knead it gently a few times to bring it together into a cohesive ball.
- Pat the dough out into a circle that’s about 1 inch (2.5 cm) thick.
- Use a biscuit cutter or a sharp knife to cut the dough into rounds or squares. You should be able to get about 8 biscuits from this recipe.
- Place the biscuits on a baking sheet lined with parchment paper, leaving a few inches of space between each one.
- Bake the biscuits for 12-15 minutes, or until they’re golden brown on top and cooked through.
- Serve the biscuits warm with butter, jam, honey, or any other toppings you like.
Making homemade buttermilk biscuits is easier than you might think, and the results are truly delicious. With just a few simple ingredients and easy-to-follow instructions, you can whip up a batch of these biscuits in no time. So why not give it a try and enjoy the warm, buttery goodness of fresh-baked biscuits today?
Pro Tips:
- Keep It Cold: One of the golden rules of biscuit-making is to keep your ingredients cold. Cold butter and cold liquid help create those sought-after flaky layers.
- Don’t Overmix: When you’re combining the wet and dry ingredients, mix just until they come together. Overmixing can lead to tough biscuits, as gluten develops and can make them chewy.
- Use Grated Butter: Grate cold butter into your dry ingredients. This distributes the butter evenly throughout the dough, resulting in a tender texture.
- Finger Friendly: When incorporating the butter, use your fingers or a pastry cutter. This way, you can control the size of butter pieces and prevent them from melting too much.
- Flour Power: Use a light touch when dusting your work surface with flour for kneading. Too much flour can dry out the dough and affect the texture.
- Grate butter: Instead of cutting your butter use a micro plane to grate it, make sure to put it back in the refrigerator before starting though to keep it as cool as
- Biscuit Cutters: When cutting out biscuits, use sharp biscuit cutters and press straight down without twisting. Twisting can seal the edges and hinder the rise.
- Handle with Care: Handle the dough as little as possible. The warmth from your hands can melt the butter and affect the final texture.
- Chill Before Baking: After cutting out your biscuits, consider chilling them in the fridge for 10-15 minutes before baking. This helps solidify the butter again for a better rise.
- Hot Start: Preheat your baking sheet in the oven before placing the biscuits on it. This encourages a crispy bottom.
- Brush with Love: Brush the tops of your biscuits with melted butter or cream before baking. This adds flavor and helps them achieve that beautiful golden-brown finish.
- Serve Fresh: Biscuits are at their prime when fresh out of the oven. Enjoy them warm and flaky for the best experience.
Remember, practice makes perfect, and don’t be afraid to experiment to find your ideal biscuit-making technique. Happy baking!

One Comment Add yours